How to Measure Yourself for Activewear at Home (and the 3 Numbers Brands Never Ask For)
Quick Answer: Measure with a soft tape over bare skin or thin underwear, standing relaxed with normal breathing, in the evening rather than the morning. Take waist at the narrowest point, hip at the fullest, and underbust snug. Then add the three numbers brands ignore: high hip, thigh circumference, and torso rise. Those three explain most fit failures that waist and hip measurements can’t.
Size charts fail people constantly, and the usual explanation is that brands are inconsistent. They are - but a lot of the failure comes from measuring wrong, and from measuring only what the chart asks for.

How do you take the basic measurements correctly?
Four rules cover almost all of the error.
Use a soft tape, not a string or a rigid one. A string stretched then measured against a ruler introduces several centimetres of error, which is more than a full size gap on most activewear charts.
Measure over bare skin or thin underwear. Measuring over leggings adds 1-2cm and over jeans adds far more.
Stand relaxed with normal breathing. Do not suck in, do not hold your breath, do not pull the tape tight. The tape should sit flat against skin without compressing. A tape you can slide a finger under comfortably is roughly right.
Measure in the evening. Your waist can be up to 1.5cm larger by evening from normal fluid shift and digestion. Evening numbers produce garments you can wear all day; morning numbers produce garments that dig in at 9pm.
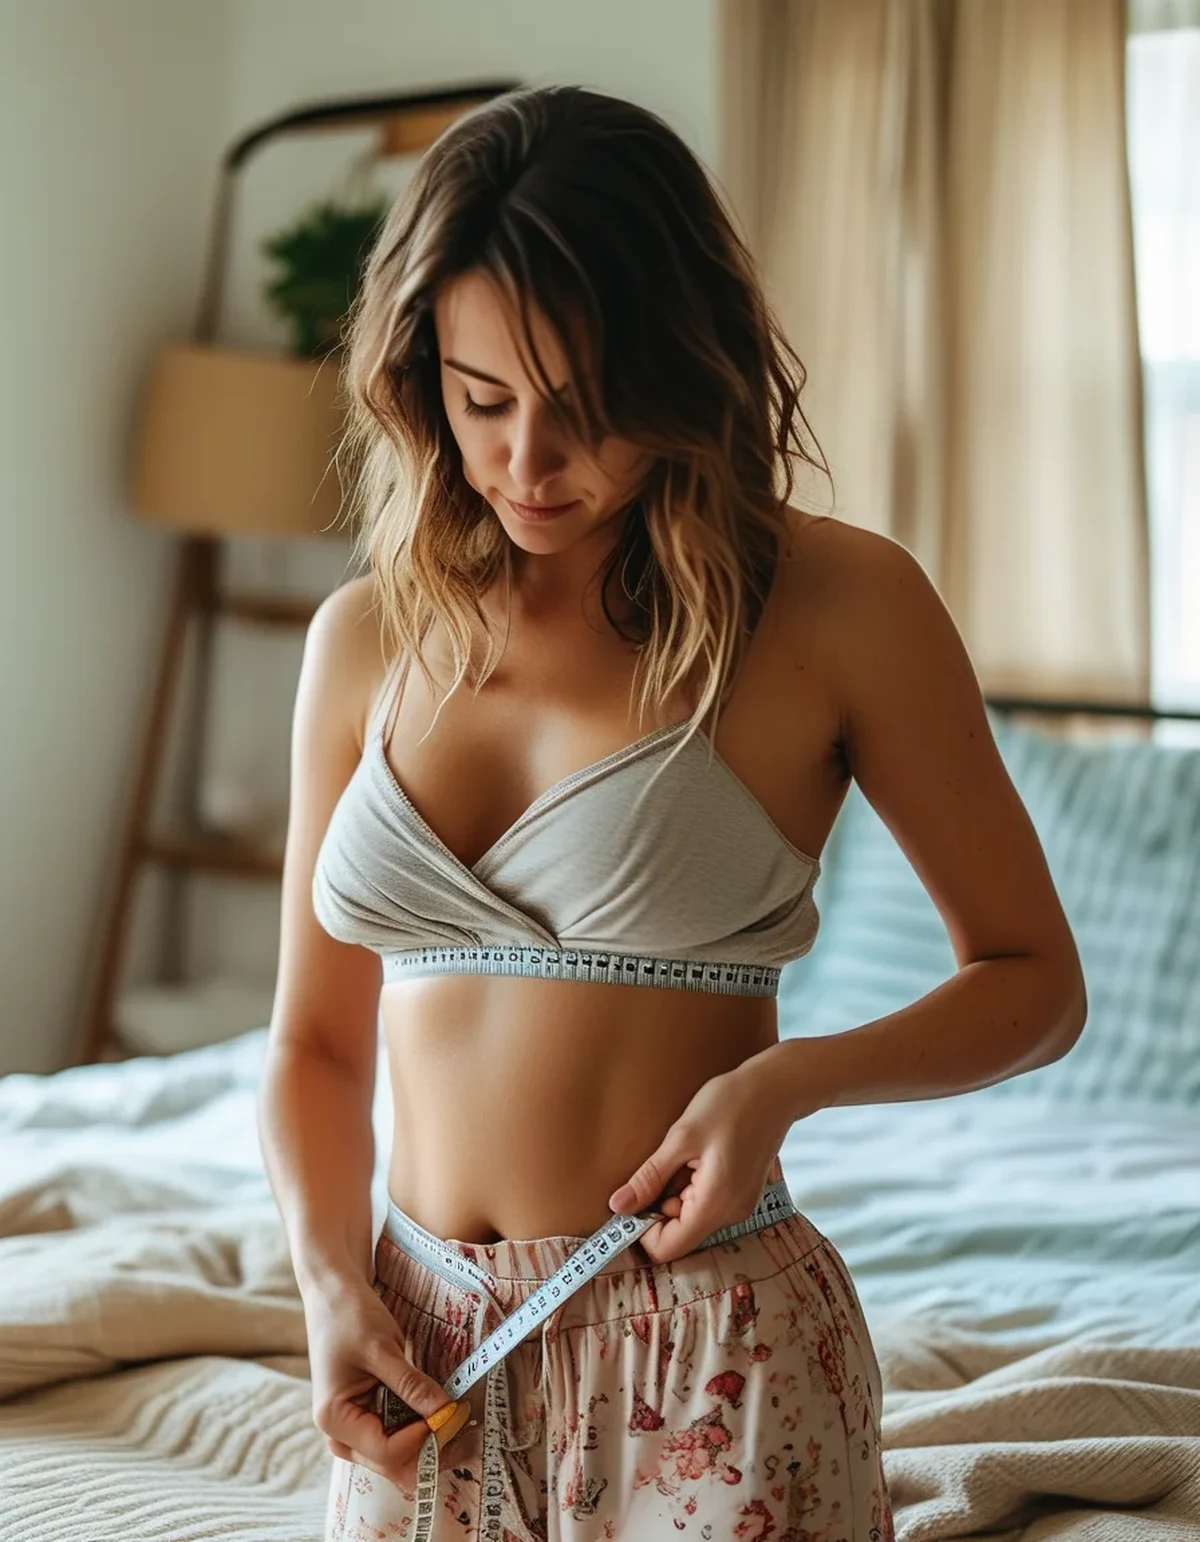
The three standard points: waist at the narrowest part of your torso, usually just above the navel; hip at the fullest point of the seat, feet together; underbust directly beneath the bust, snug but not compressing.
What are the three numbers brands never ask for?
These explain the fit problems that a correct waist and hip measurement can’t.
1. High hip. Measure roughly 8-10cm below your natural waist, around the top of the hip bones. This is where a high-rise waistband actually sits - not at your waist and not at your hip. Two people with identical waist and hip numbers can have high-hip measurements 6cm apart, and that difference is the entire explanation for why one of them gets waistband roll-down and the other doesn’t.
2. Thigh circumference. Measure the fullest part of the upper thigh. Leggings are graded proportionally, which assumes a fixed relationship between hip and thigh. If your thigh is proportionally larger than the grading assumes, you get the classic failure: the waist fits, the thighs are tight, and sizing up gives you a gaping waistband.
3. Torso rise. Sit on a hard chair and measure from your natural waist at the front, down between your legs, and up to the same point at the back. This number determines whether a high-rise is genuinely high on you or sits closer to mid-rise - and it’s why the same leggings read differently on two people of the same height.
How do you use these against a size chart?
Waist and high hip decide the size. Thigh and rise decide the style.
Start with waist. If your waist and hip land in different sizes - extremely common - go with the larger of the two for compression fabrics and the waist number for relaxed fits.
Then check high hip against the size you chose. If your high hip is proportionally large relative to your waist, expect waistband pressure at the top of the hip and look for a wide, seamless band rather than a narrow one.
Then use thigh and rise as filters:
- Proportionally larger thigh: look for styles described as having a relaxed or straight leg, and avoid heavy compression in the thigh panel
- Longer torso rise: buy the highest-rise option available; a mid-rise on a long rise sits uncomfortably low
- Shorter torso rise: avoid ultra-high rises, which will hit at the ribcage and fold
When you’re between sizes on a chart, the fabric decides. High-elastane compression fabric handles sizing down; low-stretch or cotton-blend fabric does not.
Myth vs Fact: Measuring for Activewear
Myth: You should pull the tape snug for an accurate number. Fact: Compressing soft tissue gives you a smaller number than your actual circumference, which is how people end up ordering a size too small. Flat against skin, no tension.
Myth: Measure first thing in the morning for a true baseline. Fact: A morning number is a true number, but it’s the wrong one for a garment you’ll wear into the evening. Use evening measurements for clothing decisions.
Myth: If you know your jeans size, you know your legging size. Fact: Denim sizing and activewear sizing use different grading assumptions and different ease allowances. There is no reliable conversion.
Myth: Sizing up fixes tight thighs. Fact: It fixes the thigh and creates a loose waistband that slides down during training. The fix is a different cut, not a different size.
Myth: Brands with the same size chart fit the same. Fact: Two brands can publish identical measurements and fit differently because of fabric stretch percentage, panel construction, and how much negative ease they design in. The chart is one input, not the answer.
How often should you re-measure?
More often than most people do, and less often than is useful to obsess over.
Twice a year is a reasonable default. Bodies change gradually with training, season, age, and life, and a chart comparison against numbers from two years ago is a guess.
Re-measure specifically after: a significant change in training type - lifting adds thigh and glute circumference at the same body weight - a period of injury or inactivity, pregnancy and postpartum, or any deliberate body composition change.
Write the numbers down with the date. Trying to remember whether last year’s waist was 74 or 78 is exactly how people order the wrong size online. A note on your phone with six numbers and a date takes ten seconds and prevents most returns.
A practical extra: when you find a garment that fits perfectly, measure the garment itself lying flat and note those numbers too. Comparing a new item’s flat measurements against a known-good one is more reliable than any size chart.
FAQ: Activewear Measurement Questions, Answered
Can I measure myself alone?
Yes for waist, high hip, hip, and thigh. Underbust and rise are easier with help, but both are doable alone in front of a mirror with a little patience.
What if my two hip measurements differ side to side?
Minor asymmetry is normal in nearly everyone. Measure at the fullest point of the larger side and use that.
Should I measure over a sports bra for underbust?
No - measure directly against skin. Measuring over a bra adds the band and gives an inflated number.
My numbers span three sizes on the chart. What now?
That’s a proportions mismatch with the brand’s grading, not an error. Choose based on the measurement the garment stresses most - waist for high-rise leggings, hip for shorts, underbust for bras - and check the return policy.
TL;DR:
- Soft tape, bare skin, relaxed breathing, evening - four rules that fix most measurement error
- Standard three: waist at narrowest, hip at fullest, underbust snug
- The three charts skip: high hip, thigh circumference, torso rise - these explain roll-down and tight-thigh failures
- Waist and high hip pick your size; thigh and rise pick your style
- Re-measure twice a year and after any training change; write it down with the date
The chart isn’t lying to you. It’s just answering a narrower question than the one your body is asking.
See It in Motion
Seen here: High Waist Yoga Leggings with Side Pockets — shop it on bubblelime.com
Keep Reading
This article is for general informational and styling purposes only. Fit, sizing, and product availability may vary.